Taking great photos with your phone doesn’t require expensive gear or advanced skills. Whether you’ve just started exploring photography or want to enhance your current shots, learning a few easy tips can make a big difference. In this post, we’ll cover beginner-friendly advice to help you take better phone photos with confidence and creativity.
Understand Your Phone Camera
Explore Camera Settings
Most smartphones come packed with useful features. Take some time to open your camera app and familiarize yourself with options like HDR (High Dynamic Range), gridlines, focus modes, and different shooting modes (portrait, panorama, night). These tools help you control how your photos turn out.
Clean Your Lens
It may sound simple, but a quick wipe can vastly improve your image quality. Phone lenses collect dirt, fingerprints, and oils throughout the day, causing blurry or hazy photos.
Composition Basics for Eye-Catching Shots
Use the Rule of Thirds
Enable gridlines in your camera settings. Divide your frame into a 3×3 grid and position key elements along or near the lines and intersections. This creates balanced and visually appealing shots.
Experiment with Angles and Perspectives
Don’t always shoot at eye level. Try capturing photos from high up, low down, or at an angle. Changing your viewpoint can make ordinary scenes look unique and exciting.
Keep the Background Simple
A cluttered background can distract from your main subject. Look for clean, plain backgrounds or use portrait mode to blur the background for a professional-looking effect.
Harness Natural Light
Shoot in Soft, Natural Light
Morning and late afternoon produce warm, flattering light often called the “golden hour.” Avoid harsh midday sun which can cause strong shadows and blown-out highlights.
Don’t Use Flash When Possible
Phone flashes often create harsh light and unnatural colors. Instead, move your subject closer to a window or outside to natural light for better results.
Understand Direction of Light
Lighting from the front evenly lights your subject, but side lighting adds depth and texture. Backlighting can create silhouettes or interesting effects if used creatively.
Focus and Exposure Tips
Tap to Focus
Most phones allow you to tap on the screen to focus on a specific area. Doing this ensures your subject is sharp.
Adjust Exposure Manually
After setting focus, many phones let you adjust the brightness by sliding your finger up or down. Use this to prevent overexposed or underexposed images.
Steady Your Shot
Hold Your Phone Steady
Avoid blurred photos by keeping your hands steady. Use both hands, lean against a solid object, or rest your phone on a surface.
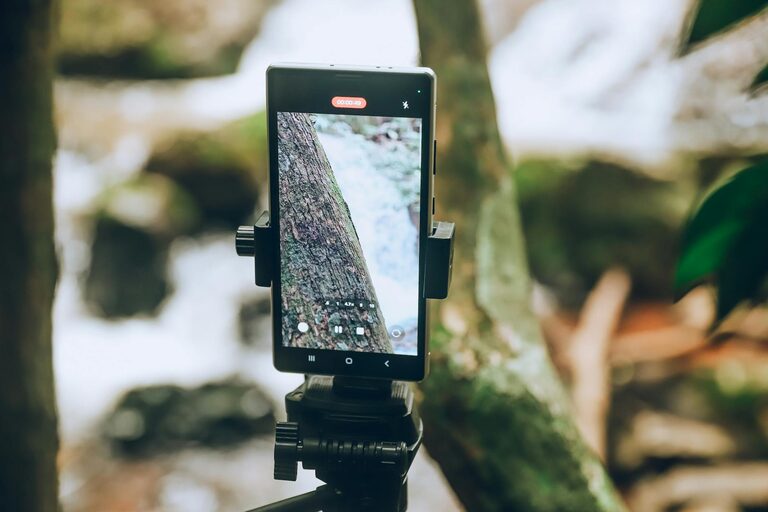
Use a Simple Phone Stand or Tripod
For longer exposures or group shots, consider an inexpensive phone tripod or stand. These are great tools to improve sharpness and framing.
Edit Your Photos Smartly
Use Built-In Editing Tools
Most phones come with basic editing features like cropping, adjusting brightness, contrast, and saturation. These quick fixes can greatly enhance your photos.
Try Free Photo Editing Apps
Apps like Snapseed, VSCO, or Lightroom mobile offer more advanced controls such as selective edits, filters, and exposure adjustments. But be careful not to overdo edits—aim for natural-looking results.
Practice Regularly and Have Fun
Photographic skills improve with practice. Take photos daily to experiment with different subjects, lighting, and compositions. Try capturing friends, food, landscapes, or everyday objects from new angles. The more you shoot and review your images, the better you’ll become.
Summary
Improving your phone photography starts with understanding your device, paying attention to composition, lighting, and focus, and making simple edits afterward. Most importantly, keep exploring and enjoying the process. With these beginner tips, you’re on your way to capturing beautiful, memorable images using just your phone. Happy shooting!